
Winged Eye
By Natayle Henry
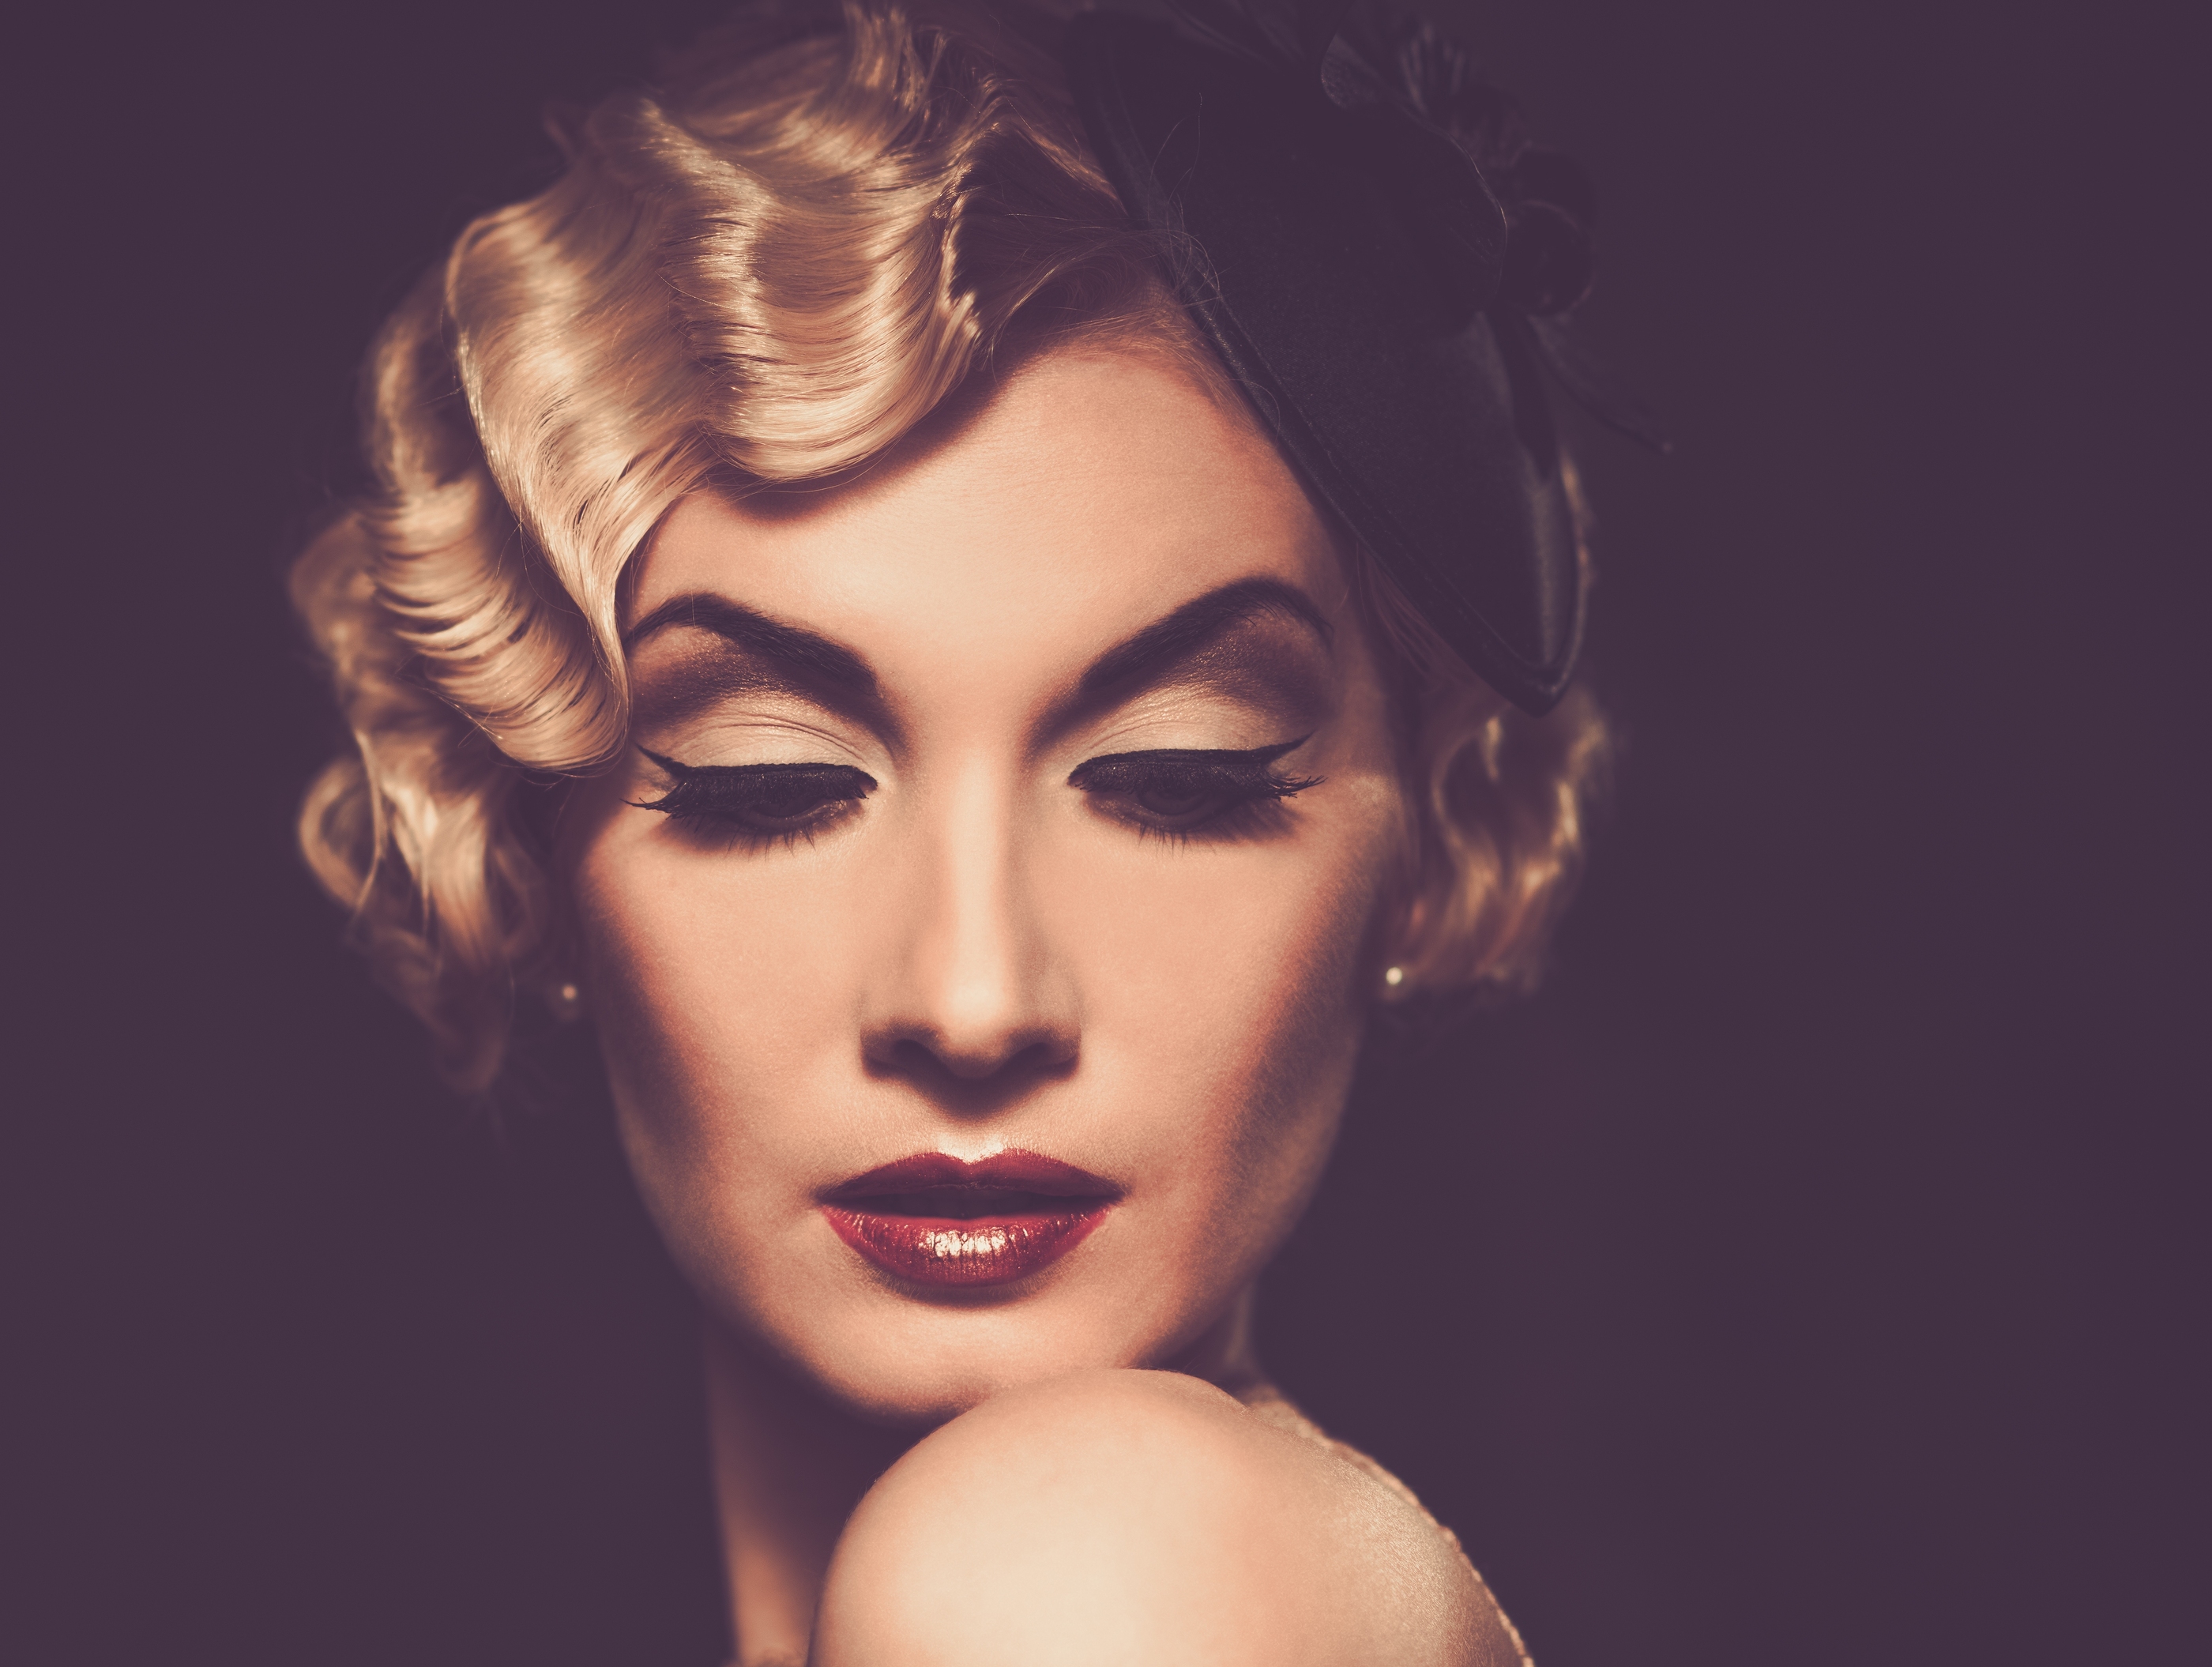
From Cleopatra to Audrey Hepburn, the winged eye has been a beauty staple for centuries. The epitome of sophistication, the perfect winged eye can can give the illusion of seduction and intrigue, but creating it can be daunting. Making the line to thick can weigh lids down, too thin seems more like a liner gone rouge. To help make this process a little easier, we sat down with India-based beauty blogger, Namrata of Life Styled, to get her tips on creating the perfect, classic winged eye.
Step 1: A Strong Base
For a classic everyday winged eye, start with a clean base. Using the Urban Decay Naked Eye Palette (or the palette of your choice), apply a neutral color like ‘half baked’ all over the lid of your eyes. After blending the color, it should look something like this.
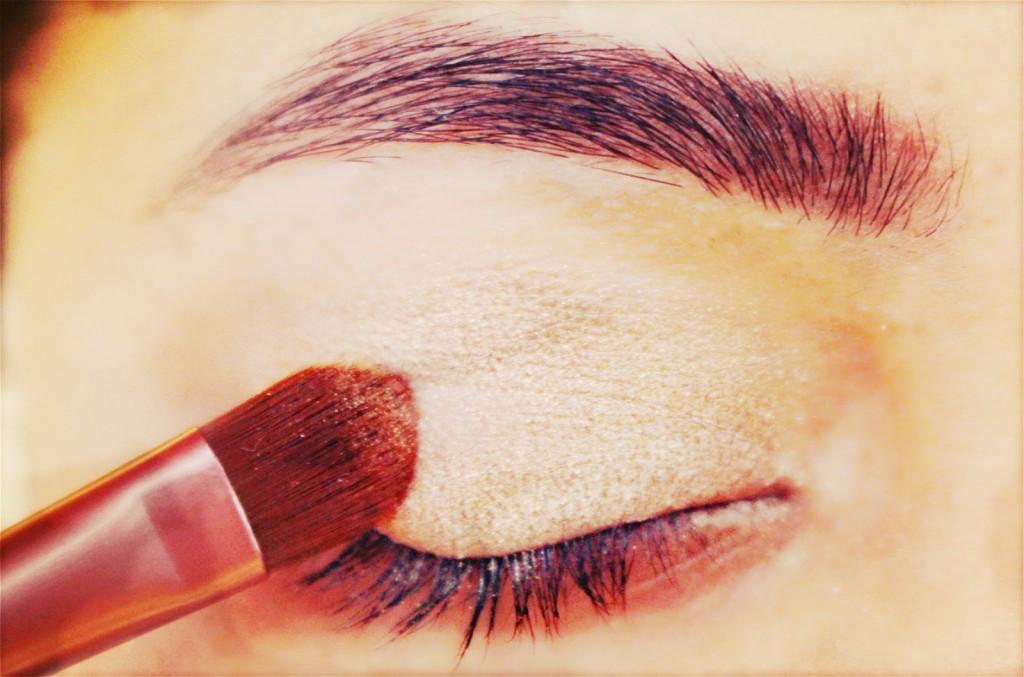
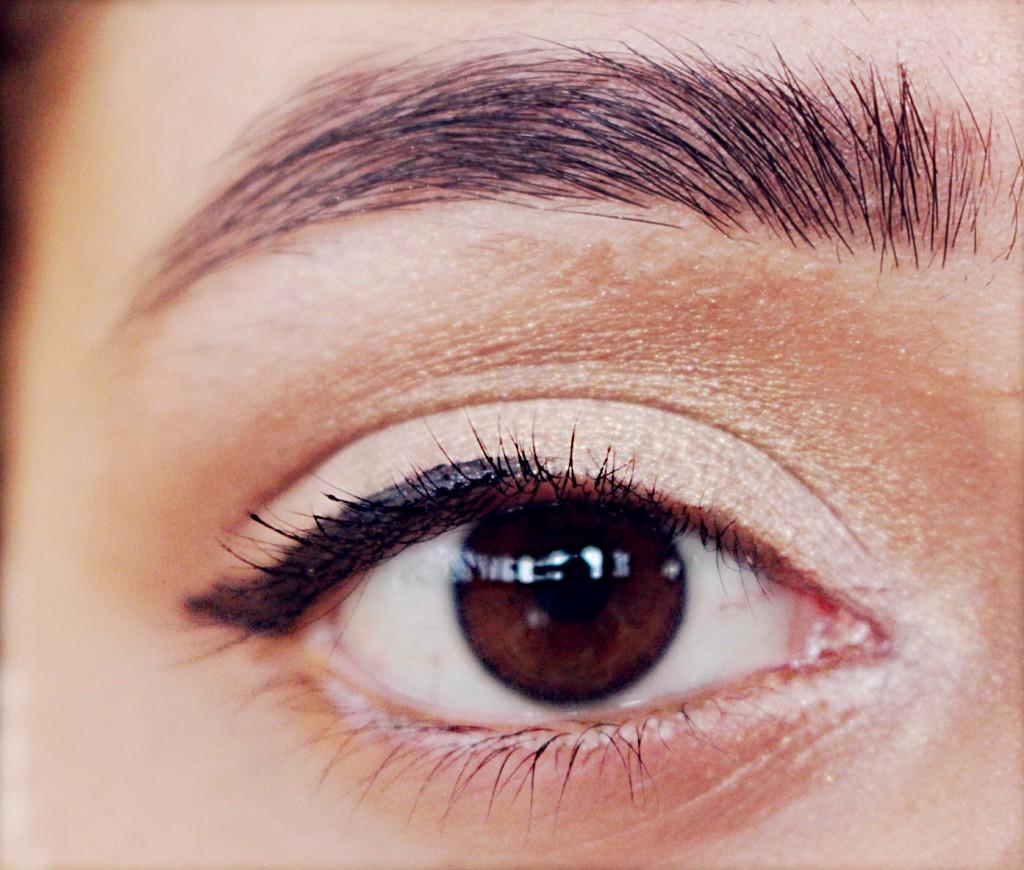
Step 2: A Good Crease
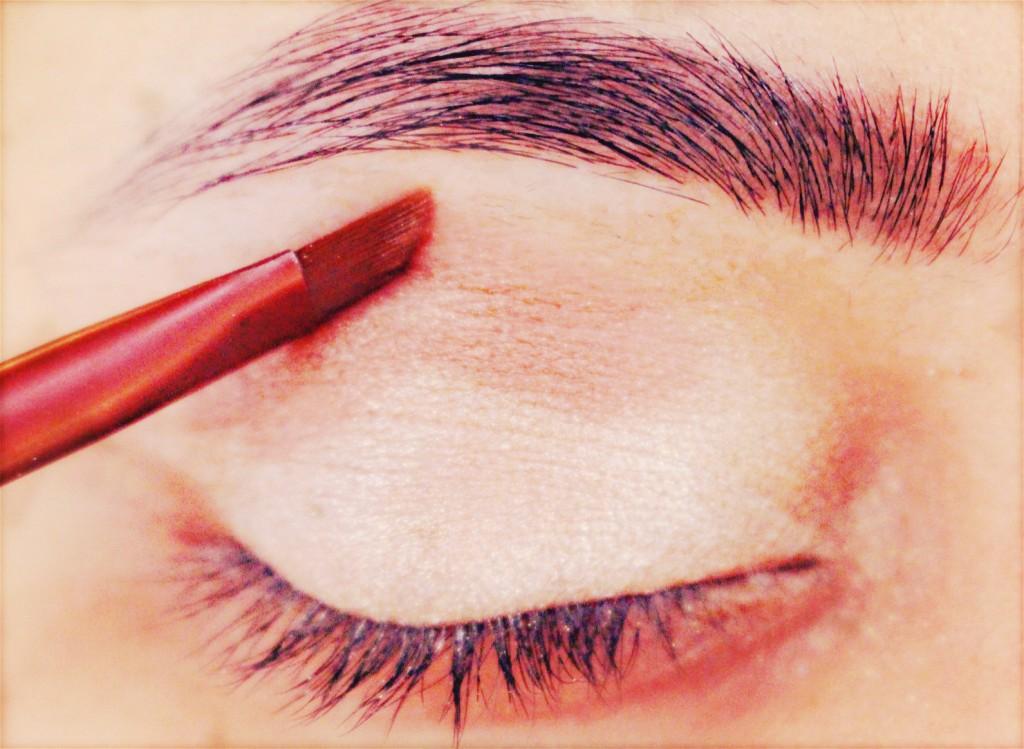
Using an angled brush apply a darker colour in the crease area of your eyes. After blending the darker colour, it should look like a smooth transition from dark to light. Focusing on a daytime look, use a colour like ‘smog’ for a more neutral look, however, for a more dramatic look, use a darker colour. This step defines the hollow of your eyes while making the eyes look bigger and well structured.
Step 3: Bright corners
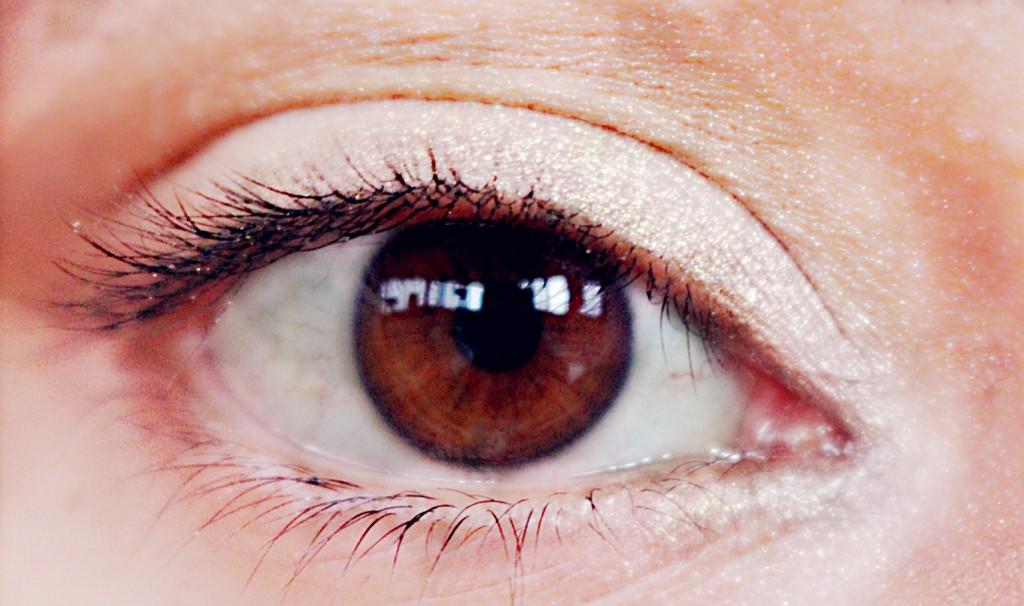
Using the lightest colour in the palette (in this case “virgin”) apply the shadow in the inner corner of the eyes and blend it well so that there are no sharp lines. Use the same colour in the brow-bone area to give the illusion of freshly plucked eyebrows.
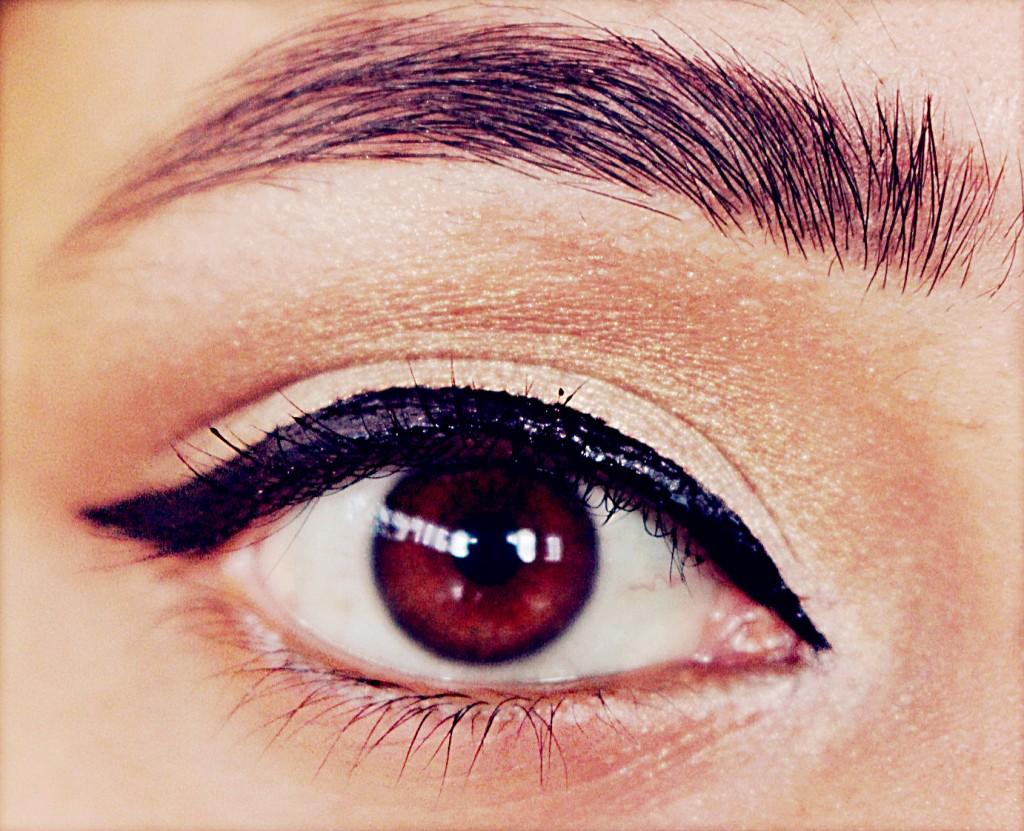
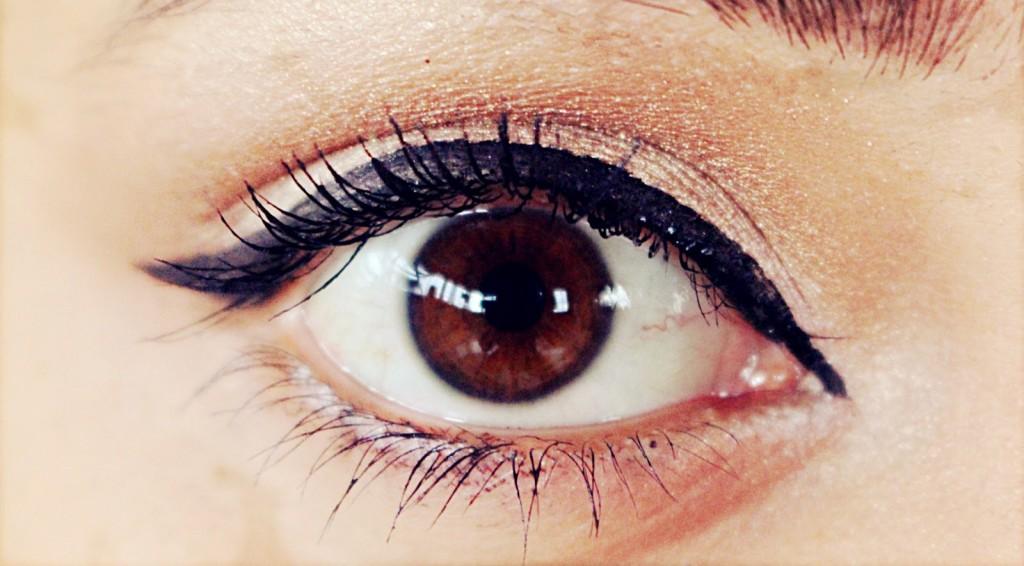
Step 4: The Liquid Magic!
Using a liquid liner, first draw the wing over the outer line of your eyes. As the wing is the hardest part, being done with it first can give some comfort. For the novice, create your line using a pencil liner first, then go over it with a liquid liner. Over time it will become second nature and you can skip the pencil liner. Once the wing has been created, pull the line over to the inner corner of your eye.
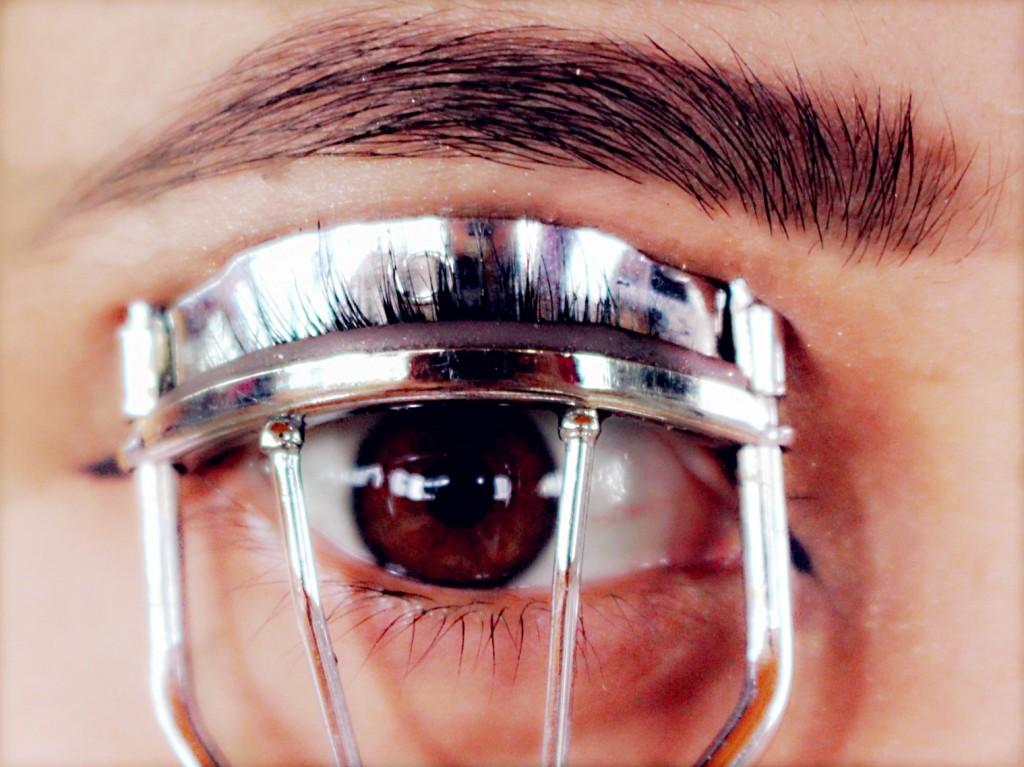
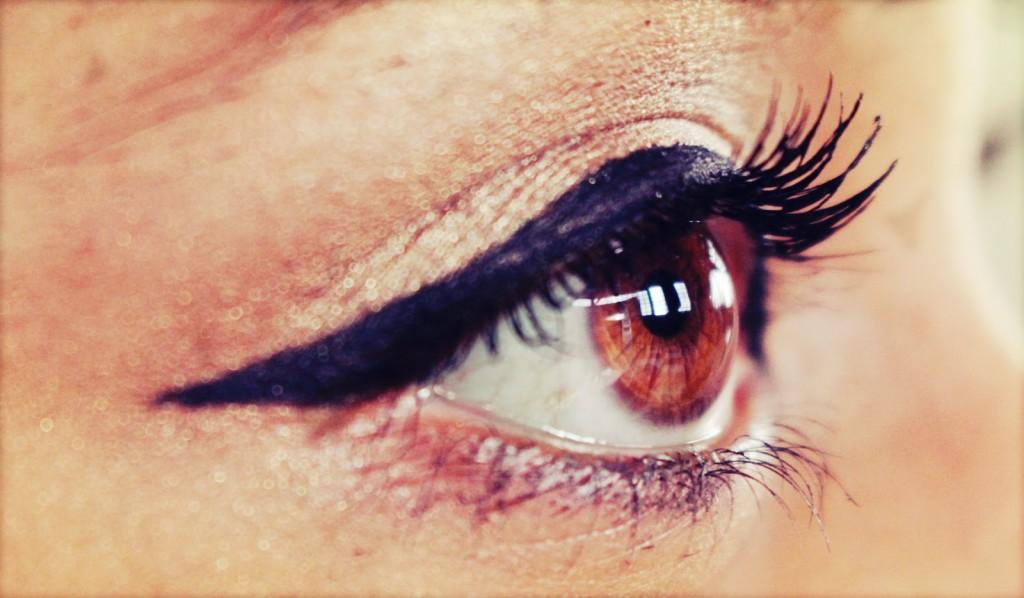
Step 5: Don’t forget about those beautiful lashes
Don’t forget about your beautiful lashes! Using a basic eye lash curler, curl lashes and then apply a coat of your favourite mascara. (Currently, I am loving the Rimmel London ‘Wake Me Up’ mascara! It lives up to its name and does a really good job of opening up your eyes). And, voila!
Products used:
Urban Decay Naked Eye Palette, $54 urbandecay.com
Rimmel London ‘Wake Me Up Mascara,’ $14 asos.com

1 comment
Thanks for this. I’d like to see more beauty tutorials. Absolutely love this!